Less Smoke, More Mirrors: A Simple Win for Studio Lighting and Why It Matters
By: Ken Kiger
For two decades, I’ve had the privilege of shaping how we perceive the products and food we buy every day. From the packaging on storeshelves to the content scrolling through your “for you” page, my work is about building visual components that command attention. What twenty years in the industry has taught me is that great studio lighting isn’t about how much, but rather how effectively you control the light you have. It’s abalance of precision and light manipulation inspired from my time spent working alongside the industry’s top talent. It all begins with a single, powerful intention: to establish the mood and direction of the light.

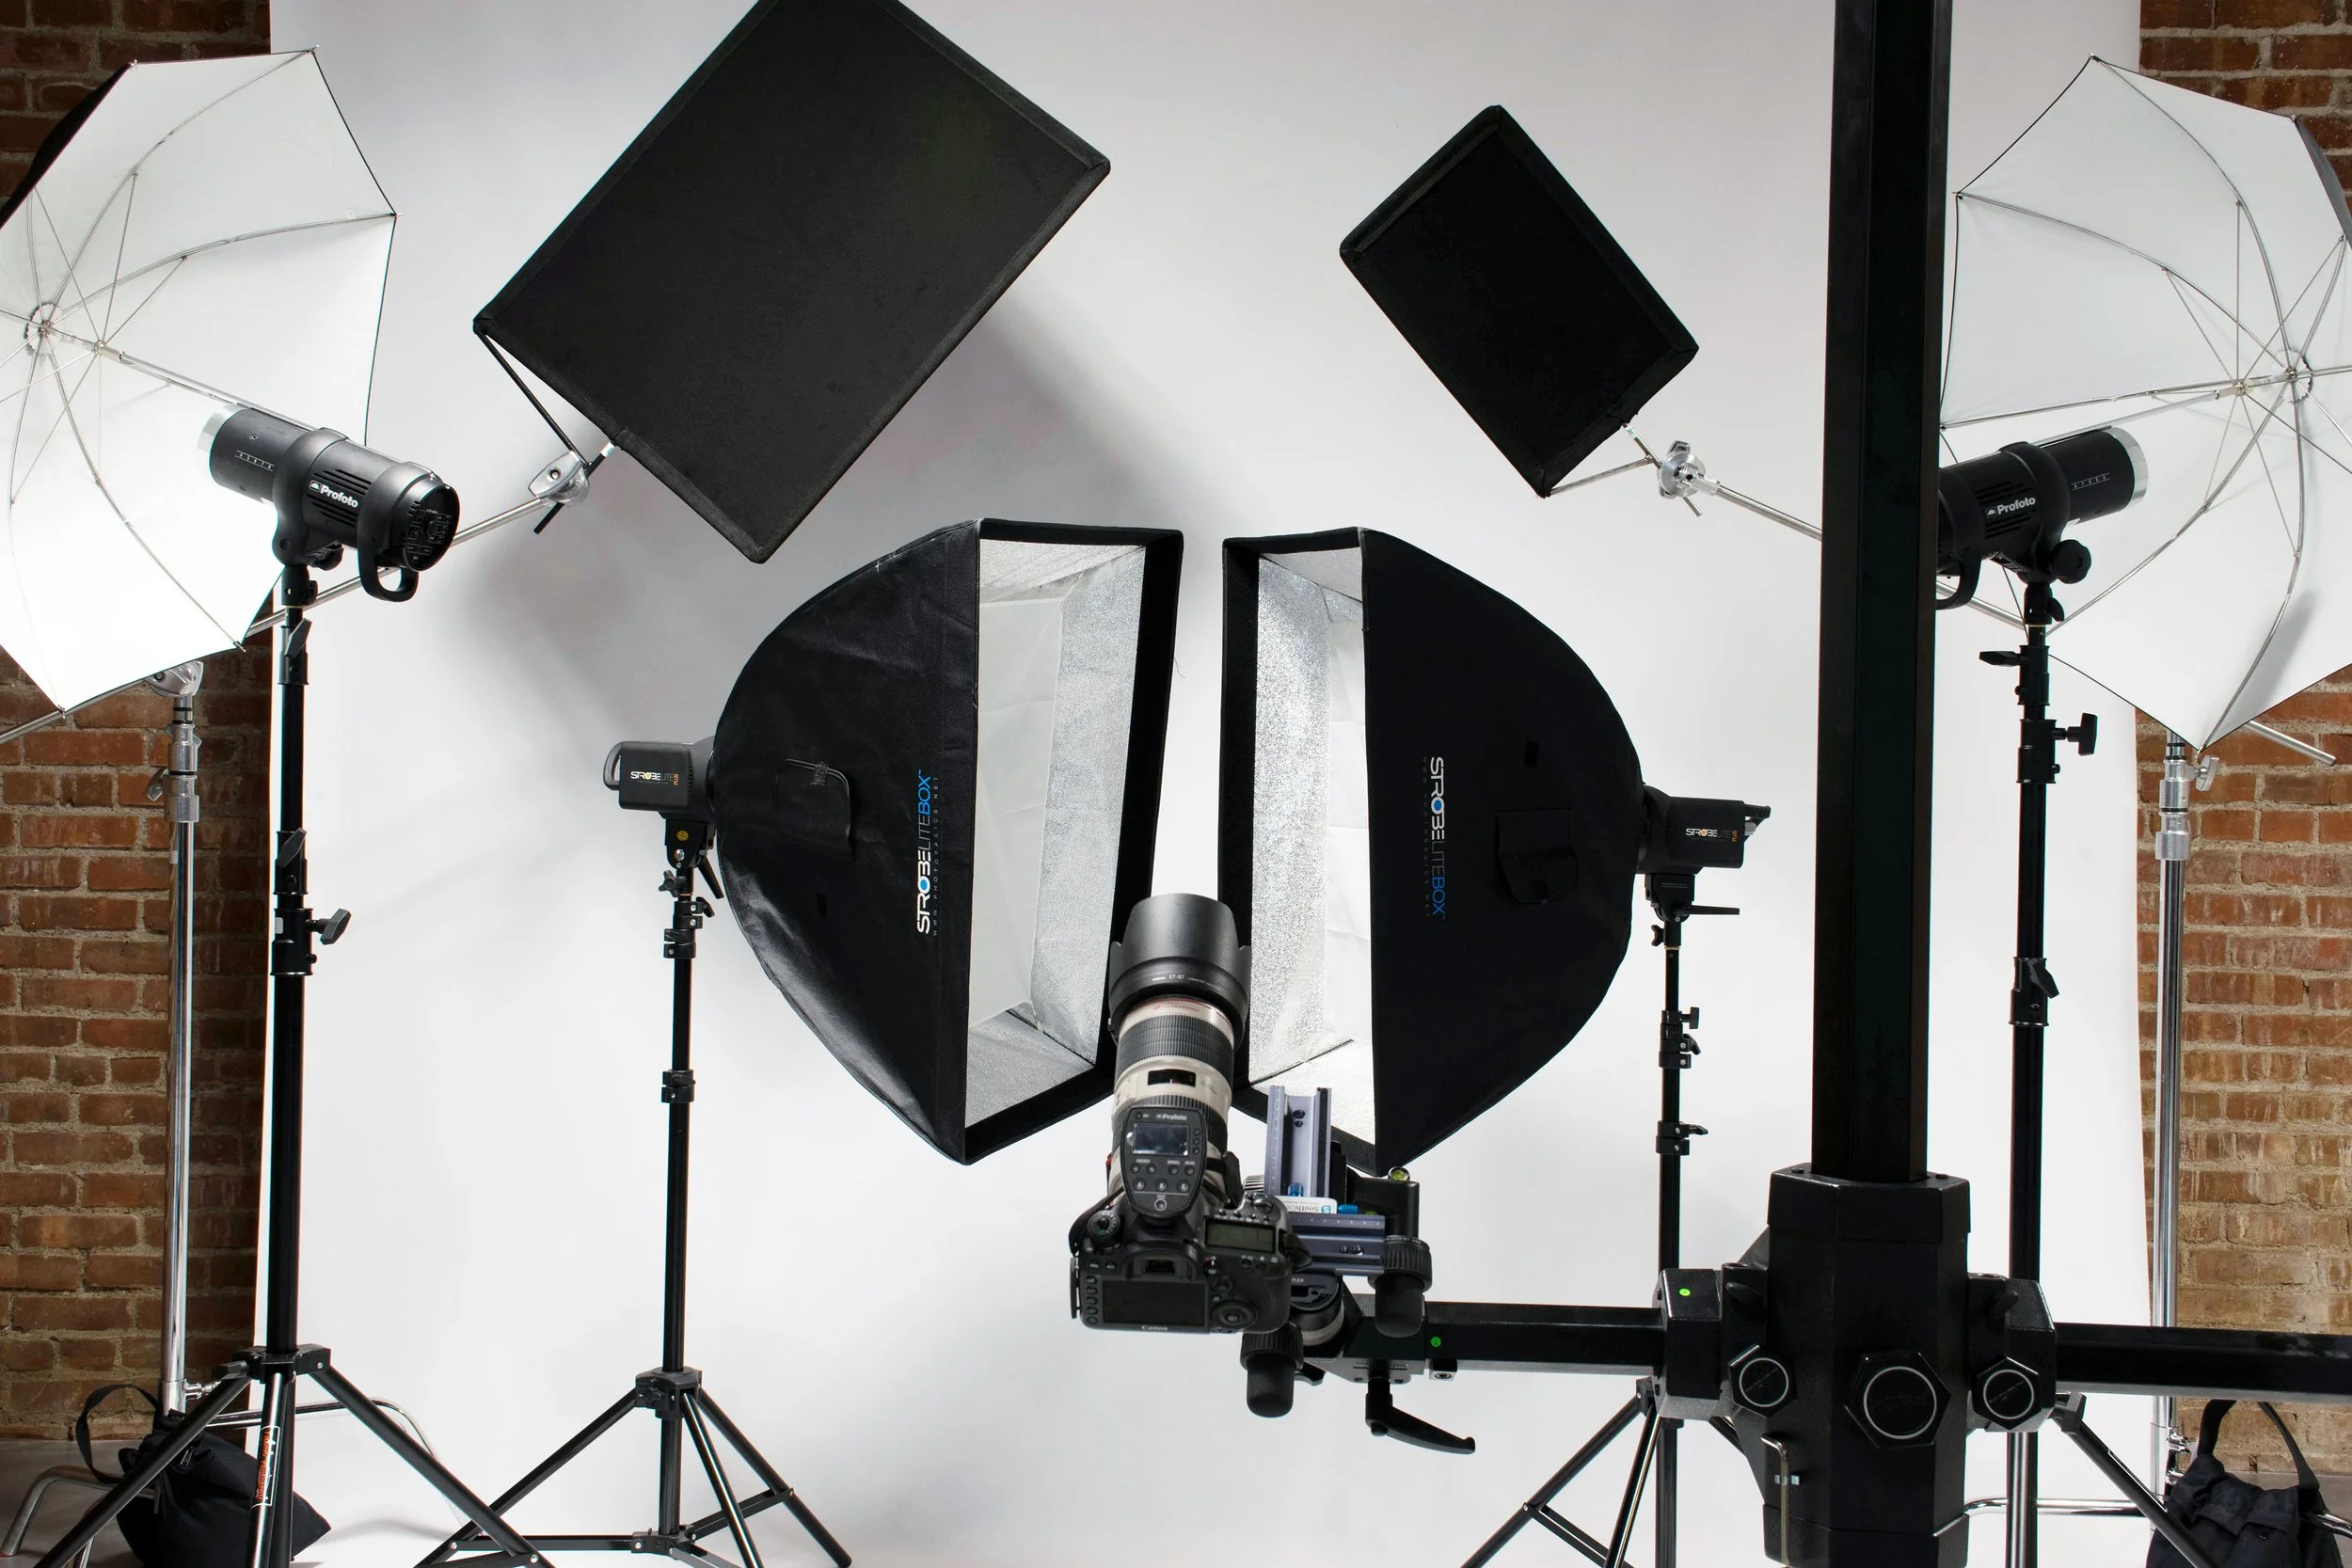
Step 1: A Single Diffused Key Light
Every shot begins with a single, diffused light source. This is the Key Light, and it acts as the foundation for the entire composition. I use a large diffuser to ensure the light wraps gently around the product, setting the overall direction and “vibe” of the image. Before adding any other gear, I spend my time adjusting this source until the shadows and highlights fall in a way that feels organic. To get this look, it helps to have a space with enough room to manipulate large modifiers—similar to the setup available here Photography Studio.
Step 2: Sculpting Form with Fill and Bounce
Once the primary light is set, the shadows usually want some attention. You need shadows for dimension, but they shouldn’t be “dead” or featureless. To fix this, I introduce a Fill Light or white Bounce Cards (often simple foam core). The goal here is to “open up” those shadows just enough to reveal texture and detail. This stage is all about sculpting; I’m guiding the light to define the product’s shape without washing out the mood created in Step 1.
Step 3: The Mirror Trick for Pinpoint Focus
This is the signature “More Mirrors” move. Instead of adding a third bulky light fixture, I use a small magnifying mirror placed outside the keylight’s diffuser. Because it sits outside the cloth, it catches the raw, non-diffused power of the bulb. By angling this mirror, I can bounce a sharp, directional beam of light back onto the subject to hit a specific point of interest—like a logo or a garnish.
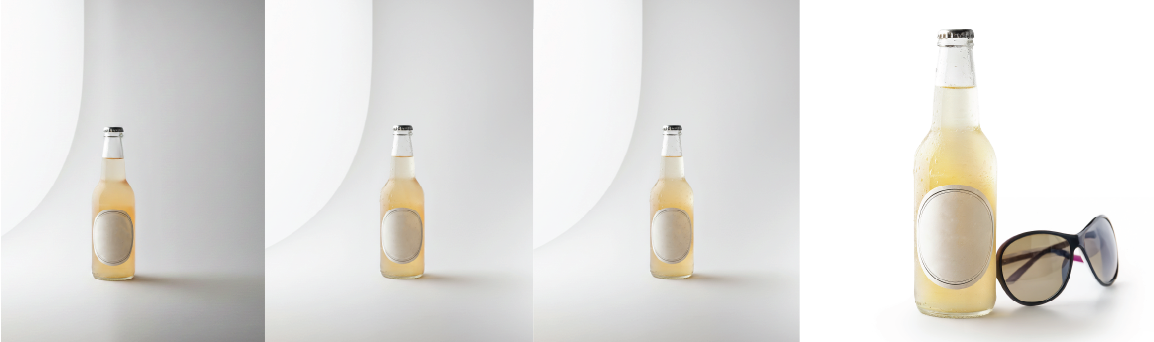
Enhancing the Story Through Props
Our light has created the mood, but props often provide the context. In brand photography, we use supporting elements to tell a story about where and how a product is enjoyed. Whether it’s a vintage linen napkin to suggest a home-cooked meal or a specific style of glassware to elevate a beverage, the right surroundings make the product feel like it belongs in the customer’s life. Finding the perfect texture or color to complement a package is an art in itself, so we have opened up our own collection for others to use through our Prop Rentals.
What happens next? From Live Capture to Digital Component
While everything on set is being tweaked, I am constantly monitoring and refining the image on our capture software. The goal is to get the shot as close to the final vision as possible directly out of the camera. However, once the image is captured, it often enters a phase of heavy manipulation. In brand design, we regularly treat a photo as a component, blending the best parts of several frames into one flawless asset ready for a billboard or a mobile screen near you!
The Reality Check: Where Real Photography Outshines Al
People often ask about how we use our studio in the age of Al. The answer is Authenticity. In packaging design, imagery is expected to be a truthful representation of the product. Consumers are savvy. They can “feel” when an image is overly synthetic. We love to capture the actual physics of how light hits a specific bottle or ingredient and build a level of trust. Al is a great tool, and we use it in conception and post-productionto speed things up. But there’s something special about being in the room, moving the lights, and seeing the magic happen before your eyes.